These Patterns are free to all with the understanding that credit should be given to the owners.
|
These Patterns are free to all with the understanding that credit should be given to the owners. |
|
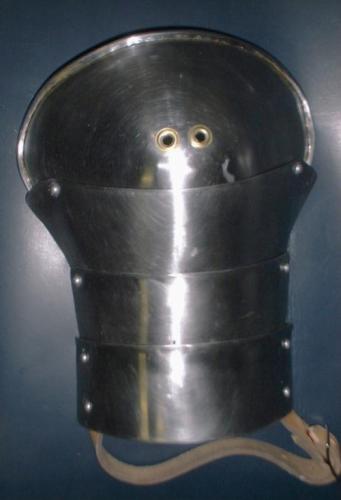
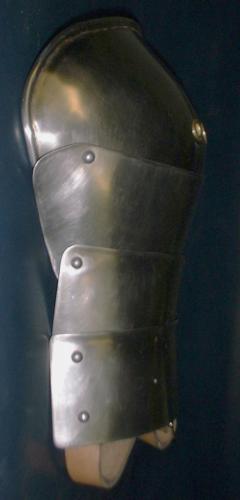
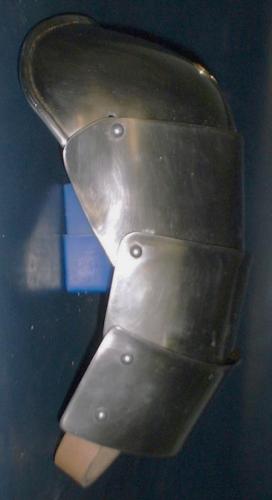
Early 15th Century Style Right Pauldron
Early 15th Century Style Right Pauldron (Shoulders): This is based on the right pauldron on the statue of 'Orlando' in Dubrovnik by Bonino of Milan from 1413. A picture of the statue can be seen in The Venetian Empire, 1200-1670 (Men-at-Arms Series, Volume 210) by David Nicolle, Christopher Rothero (Illustrator); 48 pages; Paperback (July 1989) Stackpole Books; ISBN:0850458994 . Note that I omitted what I believe to have been decorative brass bands at the top edge of the three lames. You can also see a similar pauldron on an effigy on the Tomb of Giovanni Cose of Naples from 1418 in the Louvre. A picture of this appears in "The Sanctuary of the Madonna delle Grazie with notes on the evolution of Italian armour during the 15th century." by James G. Mann printed in "Archaeologia" Journal of The Society of Antiquaries of London 1930 Vol. 80 pages 117-142. The picture is Figure 2 on Plate XXIII. The pauldron is between a size medium and large, it is made from 0.050 inch 1050 spring/carbon Steel which was quenched in brine (salt water) at around 1500F/ 815C and tempered at 600F / 315C for 30 minutes. Note that I heat the plates to 1575F/860C before I quench them. The reason 1500F/815C is listed as the quench temperature is that the plates will cool off some in the few seconds it takes to open the kiln, grab the plate with tongs, and drop it into the quench tank. From what I've seen after 0.050 inch 1050 spring/carbon steel has
been properly hardened and tempered to 600F/315C it seems to resist
denting as if it were 0.100 inch Mild Steel (between 13 gauge [0.090 inches]
and 12 gauge [0.105 inches] )
Finished March 2000
Patterns (Click on thumbnail for full-size image) 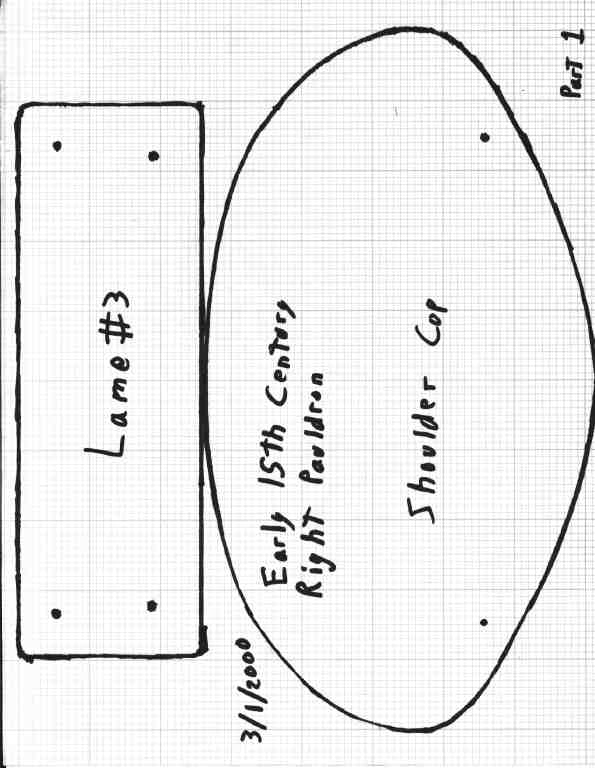
I would build this pauldron in the following order:
|