|
|
Leather Helm
by Baron Sir Gerhard Kendal
from an original by His Lordship Strygo Alexandru von Talmetz
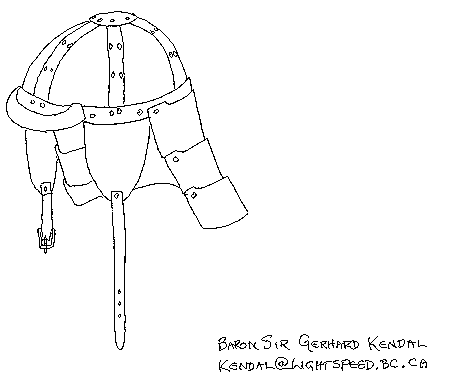
Materials
- Leather. Stiff, 6-10 ounce. Heavier is better.
- Quick-rivets (1/4" size, from Tandy) - approximately 64 needed
- Dye (if desired)
Tools
- Sharp knife (such as Olfa snap-knife, Xacto, razor blades, etc.)
- Hole punch
Patterns (Click on thumbnail for full-size image)
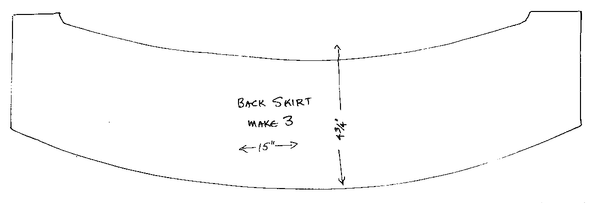
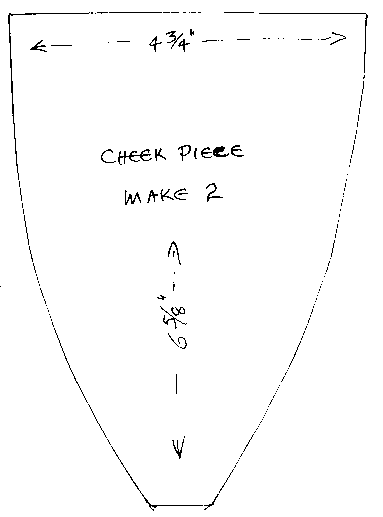
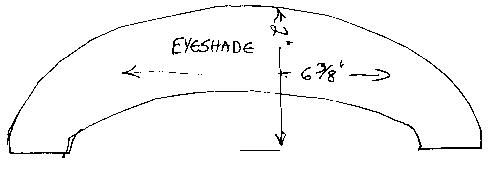
All of the pieces save for two will print fullsize on 8 1/2 by 11 paper.
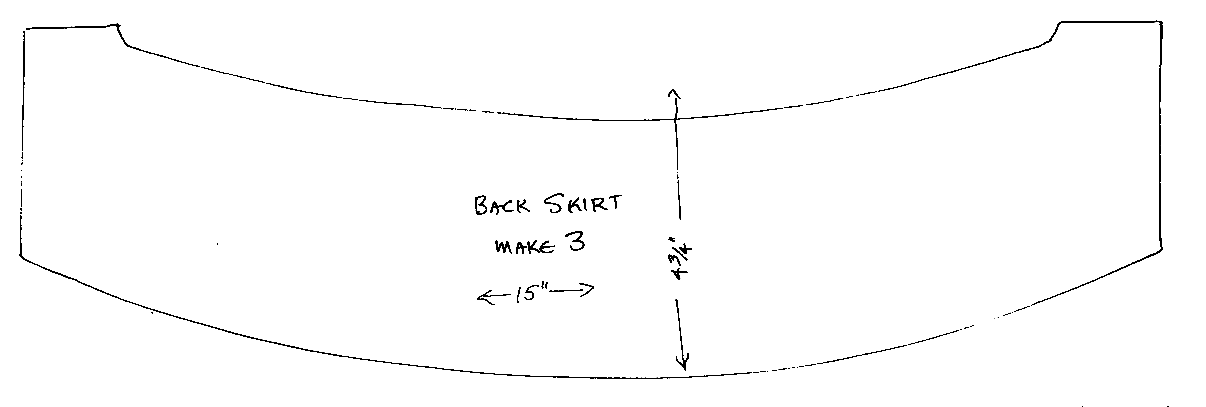
The Back Skirt and the Top center pieces are too big to fit on 8 1/2
by 11 paper so they are supplied in half size as well as full size so
that they can be printed. You will have to print the fullsize ones
on two pieces of paper and piece them together to match the shape of
the halfsize one.
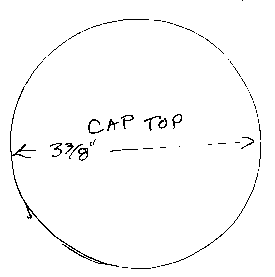
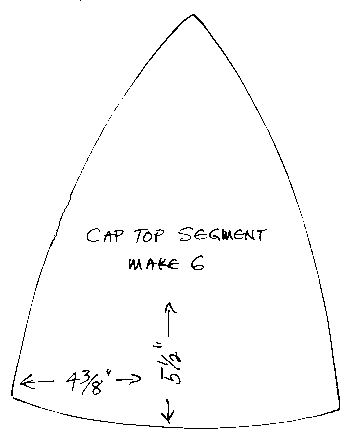
- Cap Top, Cap Top Segments
- Back Skirt (full and half-size)
- Top Centre Strip (full and half-size)


- Cheek Pieces, Eye Shade, Top Side Strip

Making your Prototype
- Lay out all the pattern pieces on some lightweight cardboard and cut
them out. Make the head band and top band a bit longer.
- Assemble the cardboard pieces in the order shown below, using tape to
hold things together instead of rivets. This step will save you some
frustration and money.
- To fit the helmet. put your fencing mask on your head, then fit the
headband of the helmet. It should be snug, but not tight, and the join
should be at the centre back. With the mask still on, fit the top
band.
- You can now remove the fencing mask and cardboard bits and finish
assembling the helmet.
Once you are satisfied with the helm (in cardboard) and how it fits
- Lay out all the pattern pieces on the inside of the leather, trace
them with a ball-point pen and cut them out. Do NOT punch any rivet
holes yet! Instead punch your rivet holes as you go, since there has
too be a certain amount of adjustment throughout. Leather is a flexible
material, unlike steel
- Assemble the head band and the top band and check the fit with your
fencing mask on.
- Rivet on the top cap, then the four top side pieces, evenly spaced.
- Rivet the segments into place.
- Rivet the neck flaps into place. They go on the outside as they go
down.
- Rivet the ear flaps on and add the visor.
- Rivet on the chin straps (with the buckle fitted), then punch the
holes in the other strap. This should be done with the helmet over
your fencing mask.
- Dye the leather (both inside and out) to a suitable colour. Black
works very well.
- Also recommended: dye the white parts of your fencing mask black,
or cover the white with black cloth tape.
|

