These Patterns are free to all with the understanding that credit should be given to the owners.
|
These Patterns are free to all with the understanding that credit should be given to the owners. |
|
Go to the Author's Original Site Early-15th Century Italian style Arm harnesses
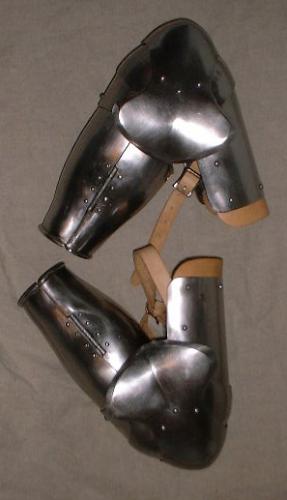
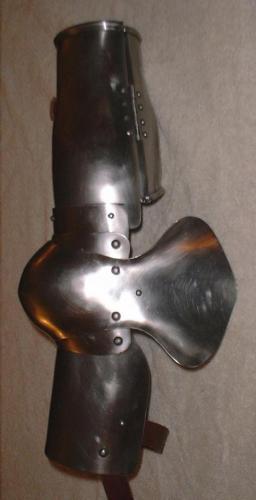
Finished April 11, 2000 Pair of arms 1050 Carbon Steel 18ga. Heat treated (quenched at
1500F and Tempered to 600F) (shown 1st)
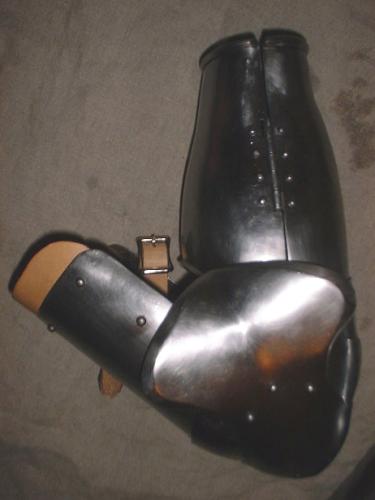
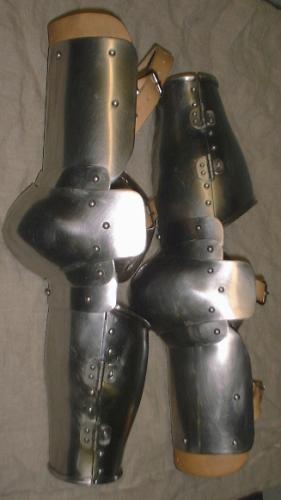
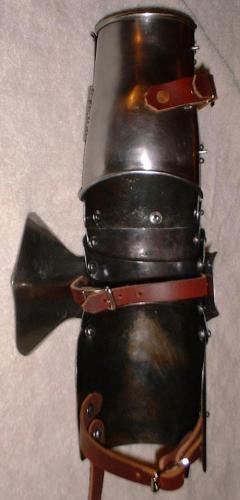
Finished Jan. 2000 Pair of arms 1050 Carbon Steel 18ga. and 20ga. Heat treated
(quenched at 1500F and Tempered to 600F) (left arm shown 2nd)
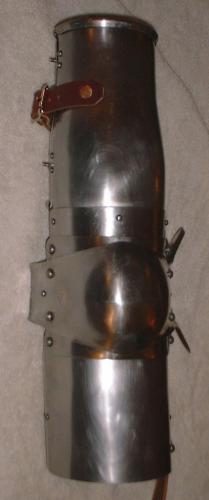
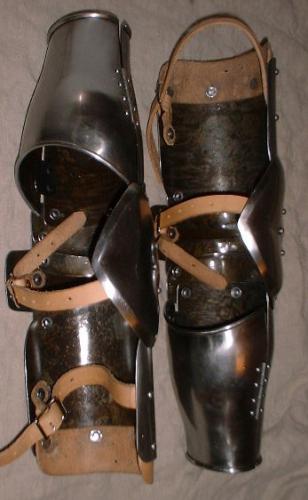
Left arm 304 Stainless Steel 18ga. and 20ga.
Finished April 1999
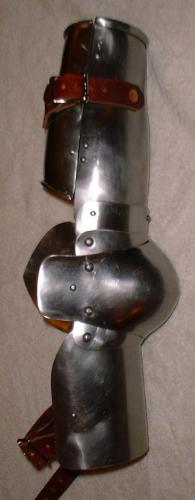
Right arm 304 Stainless Steel 18ga. and 20ga. (for tournaments) Finished Sept. 1999
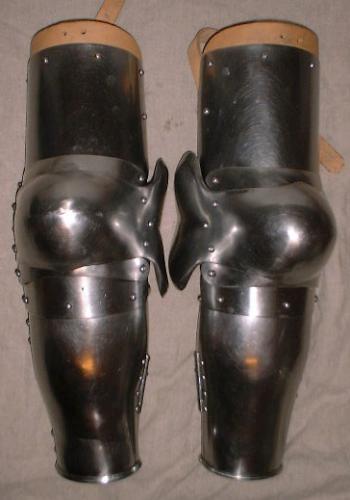
Pair of arms 1050 Carbon Steel 18ga. and 20ga. Heat treated (quenched at 1500F and Tempered to 600F) (left arm shown 2nd) Finished Jan. 2000
Pair of arms 1050 Carbon Steel 18ga. Heat treated (quenched at
1500F and Tempered to 600F) (shown 1st)
Finished April 11, 2000
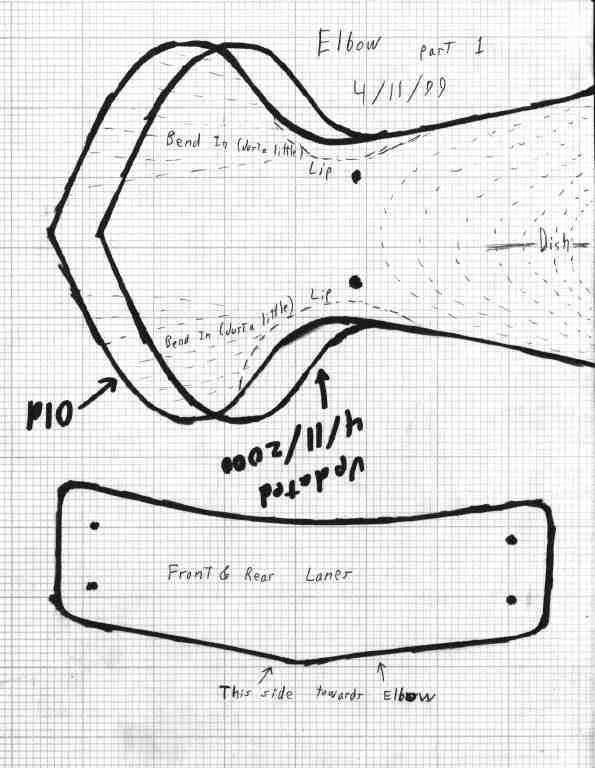
Updated Patterns on April 11,2000
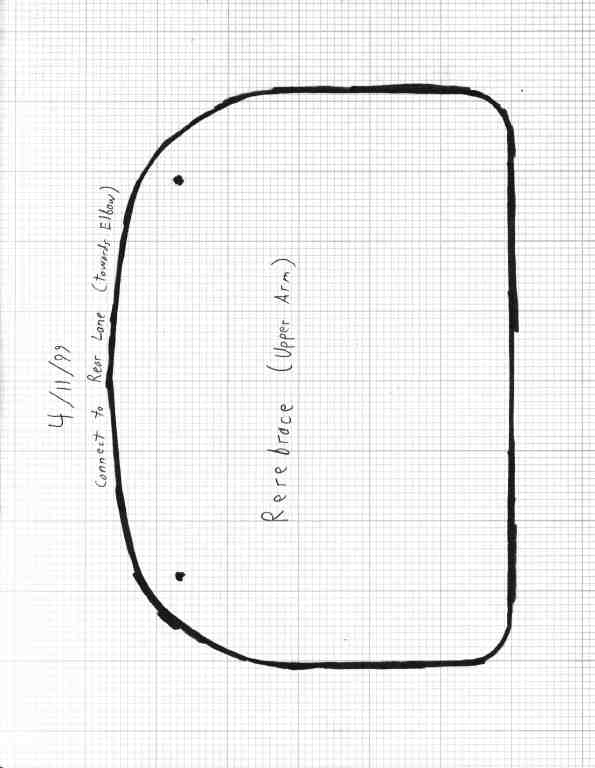
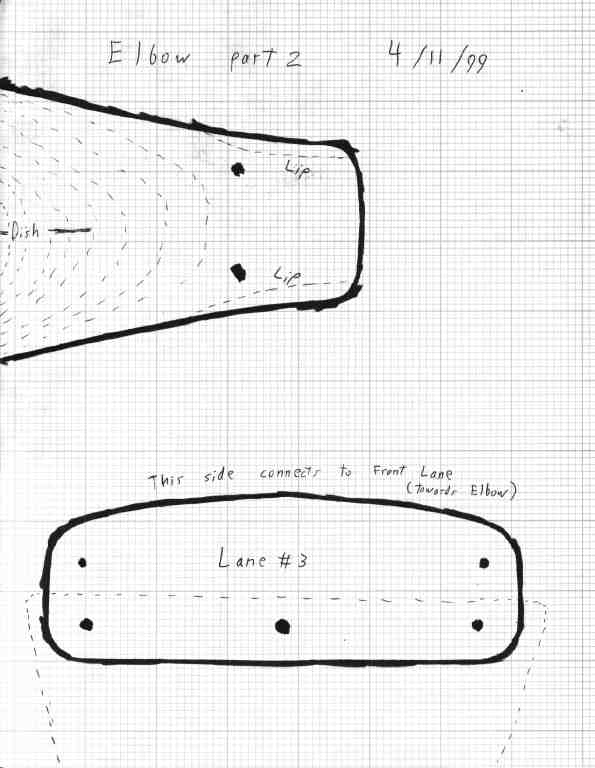
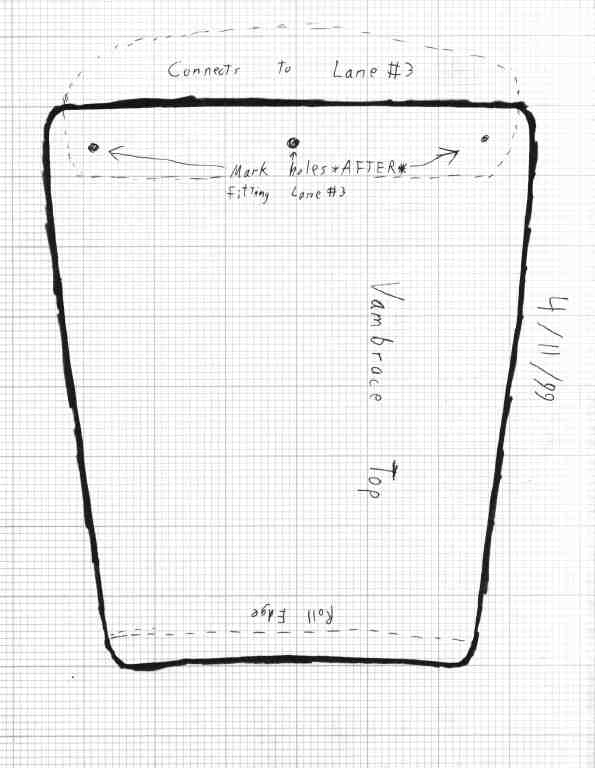
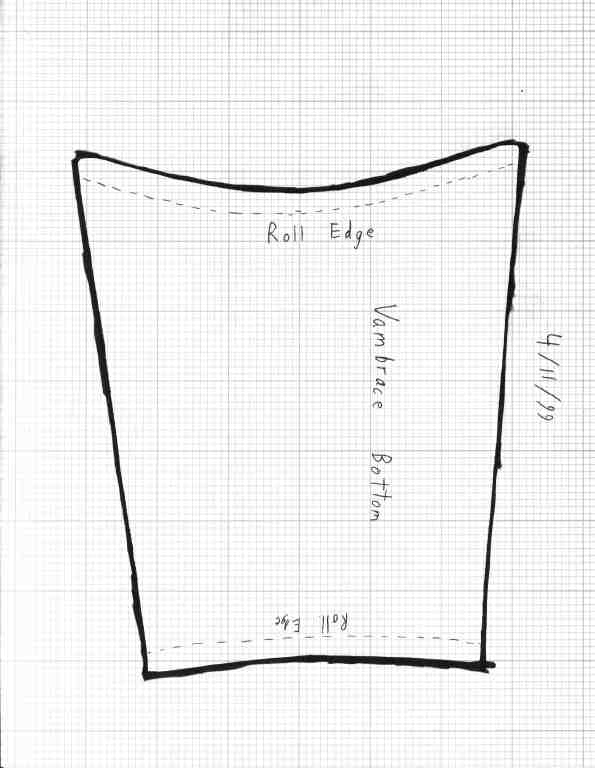
Patterns (Click on thumbnail to get the full-size image)
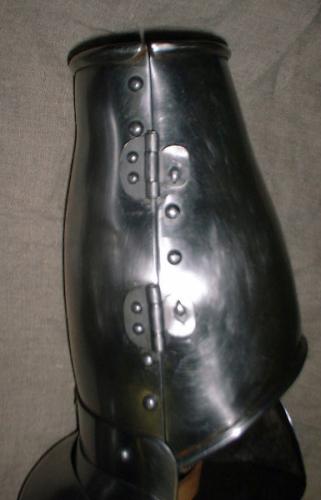
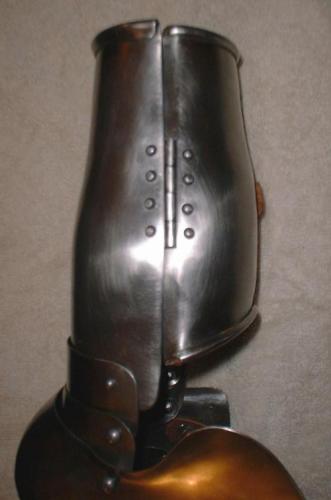
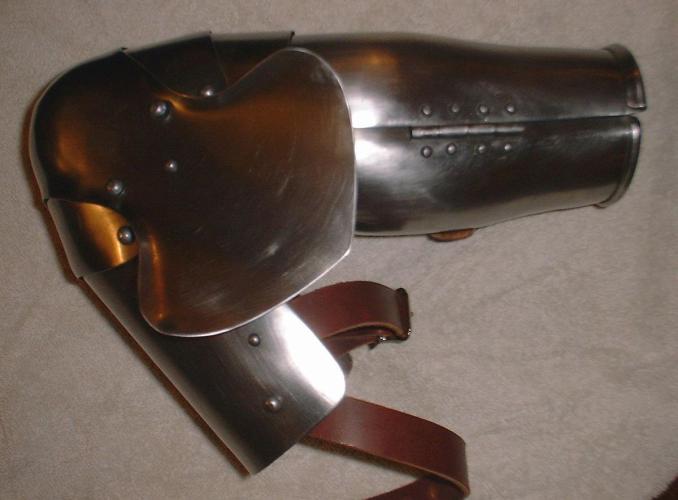
These arm harnesses are based on a set in Churburg made in the early
1400's. They are shown in the Churburg catalog on suit #18 and in "European
Armour: circa 1066 to circa 1700" by Claude Blair.
When you print out the patterns be sure to print them as 8.5 inches
by 11 inches with no margins. The arms are size medium (maybe a bit on the
small side). The vambrace (or lower cannon) should be a fairly tight fit but
not so tight at the wrist that it inhibits wrist motion.
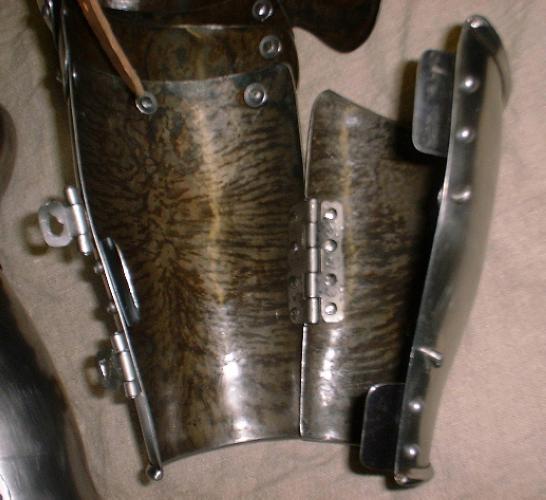
You may need to adjust the rivet holes on the lanes connected to the
couter (i.e. "elbow cop"). If the lanes don't move far enough try making
another lane with the rivet holes for the side having the problem a 1/16 of
an inch closer to the center. If the lane is gaping then try making a lane
with the rivet holes for that side a 1/16 of an inch closer to the edge.
I would build these arms in the following order:
|